Fixing a leakage faucet can be not only easy, but also challenging if you have skilled hands. We will tell you how to do this in this article.
How to Fix a Leaking Faucet in 5 Easy Steps
You might be amazed when you find out how to fix a leaky faucet — it’s far more low-cost and basic than you probably thought. It doesn’t take much time, and you require simply a couple of home tools and a couple of items from the hardware shop. There are four common types of faucets: Cartridge, Disc, Ball and Compression Washer. The Compression Washer Faucet is one of the earliest designs, and more likely discovered in older houses. These are also the most typical to trigger leaking, so we’ll cover how to repair a dripping faucet, with focus on the Compression Washer Faucet.
Step 1
Switch off your supply of water. If the main line isn’t off, you could experience a big mess and a LOT of excess water.
Step 2
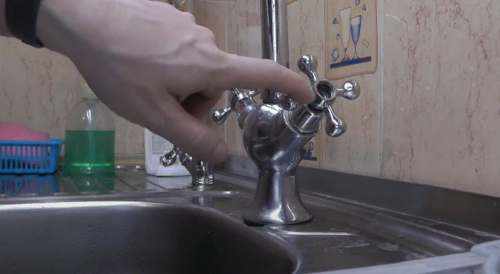
Remove the pretty handle knobs you spent months choosing. Those decorative parts require to be out of the way so you can fix the concerns behind them. You should have the ability to utilize a simple flat-head screwdriver for this task. Pull the knob off, to expose the screw that installs the handle to the stem. Utilize your screwdriver to remove the handle from the stem.
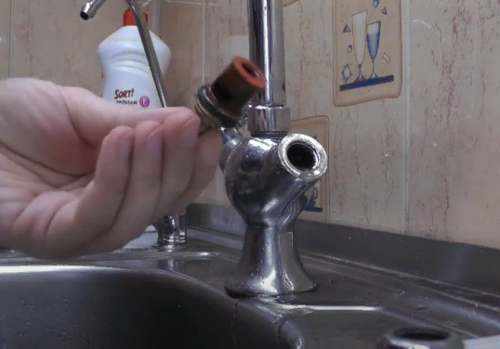
Step 3
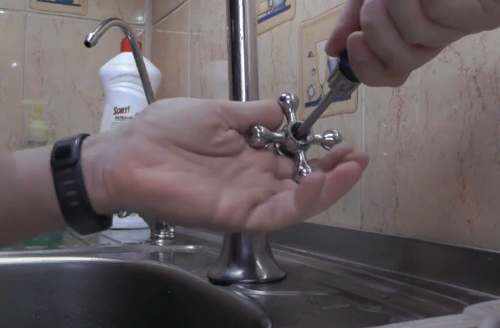
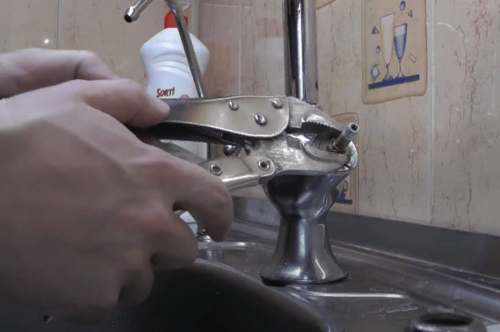
Try to find the packing nut (you can’t miss it) and utilize a wrench to loosen it. Now, you need to have the ability to see the stem and remove it. Some will come right off with a little tug, while others need a little bit of a twist. Examine each part as you remove it for damage.
Step 4
From here, you’ll see the O-ring and washer. This is most likely the reason for your drip leakage. Replace this, however it needs to be an exact fit to properly operate. A simple suggestion is to take the O-ring and washer you simply removed to your local hardware shop. Match that up with a new set in the exact same size.
Step 5

It’s time to reassemble! Replace the old O-ring and washer with your newly acquired items. Then, reattach the stem, packaging nut and handle because order. Turn on the water supply and slowly turn your faucet on. If it’s still leaking, it could be a number of things triggering the issue. Work in reverse once again to make certain each part is tightened up properly. If that still isn’t working, you might have worn away parts, damaged seals or a more severe plumbing problem. Must that be the case, it’s time to employ the experts.
Final Word
Leaving a faucet to leak isn’t just a troubling annoyance — it could be an indication of bigger concerns. Now that you know how to repair a leaky faucet, you’ll be conserving yourself a lot of money and time. Should your efforts stop working to stop the drip, there are professionals waiting to assist. Pat yourself on the back, no matter the outcome. You now understand how to fix a leaky faucet.