
Recently, presentations made on Google Slides have become increasingly popular. If you are just about to make your first presentation on Google Slides, our tips should come in handy.
Google Slides Creation: Tips for Best Results
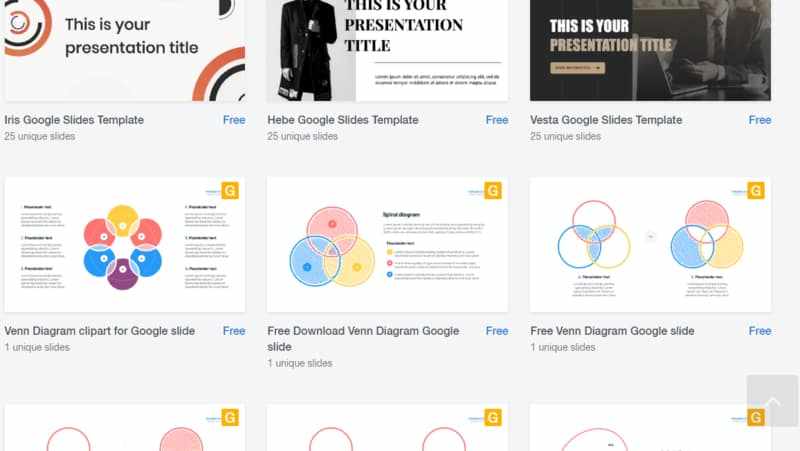
Use Non-standard Google Slides Template
The choice of free and paid (inexpensive) templates for Google Slides is quite large. So we recommend that you start by choosing a non-standard solution for your presentation. You can choose an interesting and original template here according to the direction/theme of the presentation.
Utilize the Master Slides Tool
After that be familiar with the Masters Slides tool. The Master Slide tool enables you to make design and design changes that apply to your entire presentation in one place. Additionally, if you try to change something on a slide and it’s not allowing you to, opportunities are it’s since you’ve already specified a different layout/design in the master slide, so all you have to do is hop on that tool to change it.
Place images directly from Google Images
Google Image Search has billions of images indexed. When you utilize Google Slides, you don’t need to download images and after that publish them once again to your slide. Nope, you do not even need to leave your internet browser tab to search for suitable images for your presentation.
Keep in mind that there’s no preview button. You just need to click on the Theme you like and the changes will be used in real time. Also, if you wish to import a theme from an existing presentation, you can click on the yellow Import Theme button. Play around with the various theme options up until you discover one that works best for your presentation!
Try different shapes for your slide’s images
Your pictures require not be in the usual rectangle-shaped or square shape all the time. With Google Slides, you can change your image into various shapes, arrows, callouts, or equations.
Learn to Insert Google Slides diagrams
To insert a diagram on your slides, click Insert > Diagram. The Diagrams side panel will appear on the right side of your screen. As you can see below, you can choose from 6 different kinds of diagrams: Grid, Hierarchy, Timeline, Process, Relationship and Cycle diagrams.
Links, Links
With Google Slides, you’re not restricted to including just links to sites, you can also connect to images, your files on Google Drive, and even to other slides in your presentation!
Make changes by modifying the slide master
If you’re just working with a few slides, then you may not have much need for a slide master. Nevertheless, once you get to double figures (state from 10 slides onwards), then you’ll see just how much of a timesaver a slide master is. You do not require to modify each specific slide, rather you can just go straight to the slide master and all slides in your presentation will automatically be upgraded.
Use vector drawings
If you’re looking to wow with your presentation, you are probably using a great deal of visuals. This indicates including in a great deal of JPEGs, videos maybe even the occasional PDF. These files can be heavy, and quickly stack up, which risks of your Google Slides presentation lagging and checking the perseverance of your audience.
However, there’s another way. If you have a designer at hand, open up Adobe Illustrator and give vector graphics a try. Producing something special, custom and exporting as a PNG is most likely to keep your slides looking stylish and functioning effectively.
Embed Your Presentation
Required to embed your presentation on your site or share it with a non-Google user? Well, Google Slides makes it very simple. Head to the File menu and click “Publish to the web.” From there, you’ll see a couple options. Under the “Link” tab you can tinker with how the slideshow advances for those you’re sharing it with. And if you want to embed it to a site, click the “Embed” tab and modify the presentation progress, size, and measurements as you choose.
Update Your Slide Charts in Real-Time
Are you presenting charts that are subject to change based upon new data? Then make usage of this amazing function. First, enter all of your information into Google Sheets. Then, create your chart by choosing the Insert menu and clicking “Charts” then “From Sheets.” Look to make sure the “Link to Spreadsheet” box is inspected. After that, whenever you upgrade the data in Google Sheets, your chart in Google Slides will immediately update with the new data merely by clicking “Update.”
How to Make a Google Slide More Interesting
Change an image shape with masking
Using masks, you can use different contours and shapes for images. This is a very effective trick that will make each slide special.
Make text pop off an image
Often you have such a jailing image, you desire to maximize it by having it fill up a slide. The issue is, now you have no white space on which to place your text. And just typing over the image makes it challenging to see either.
The easiest solution is to produce a clear shape over the picture and overlay your text on it. Select an easy shape from the shape menu and drag it over the text you wish to highlight. With the shape selected, click the Fill Color button on the toolbar, and in the fly-out box, choose Custom. Select an off-white color from the color box, then drag down the opacity bar on the right till you get the preferred transparency. You need to have the ability to clearly read the text within your shape while still being able to construct the image below it.
Create a drop-shadow result
Drop shadows are an excellent method to make text pop, especially if your slide has an intense background color. Although Google Slides does not support the shadow effect, you can quite simply make a shadow for your text yourself. The instructions are as follows:
- First, write some header text on a slide. Highlight the text and click the arrow next to the highlighted “A” on the toolbar to pick a text color. This will be the “shadow,” so grays and blacks are safe options.
- Next, you just need to copy and paste the text on top of the first one (which will act as a shadow) with a slight offset. Simple and effective.