Using the incorrect tools to use grout can quickly destroy the look of your newly tiled wall or floor. Appropriate tools help to ensure no grout stays on the surface to develop a haze or awful clumps on your tile. The right tools also make it much easier to fill each joint in between the tiles, a procedure that helps avoid water damage and keeps your tiles secure. Prior to you grout, take the time to gather the right tools for the task to maximize your possibility for DIY success.
Best Tool For Applying Grout
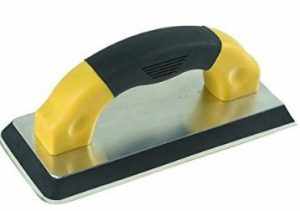
Grout Float
A grout float looks like a trowel but features a rubber base rather than a metal one. Using this tool, you can quickly and easily get grout and apply it to a tiled surface area. A grout float also functions as a reliable tool for requiring grout into the joints in between tiles or cleaning excess grout from a surface area before it dries. Popular Mechanics advises a hard rubber grout float for epoxy grout or a soft rubber system when dealing with basic grout.
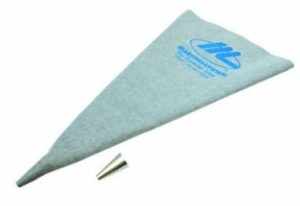
Grout Bag
When dealing with colored grout or unglazed tiles, switch your grout float for a grout bag. This tool resembles the pastry bags used for embellishing cakes. It features small nozzle accessories that permit you to direct grout straight into the joints rather than using it to the entire surface area. While using a grout bag has the tendency to take more time than using grout with a float, it likewise reduces the risk of stains or scratches on permeable or unglazed tiles.
Striking Tool
Striking tools make it simple to shape the joints between each tile to develop the preferred profile. Home improvement shops offer specialized striking tools to create rounded, square or other types of joints, however lots of tile installers merely improvise when striking grout joints. The corner of your grout float, the deal with of a wooden spoon or an easy wooden dowel can all work as efficient tools for developing profiles in grout.
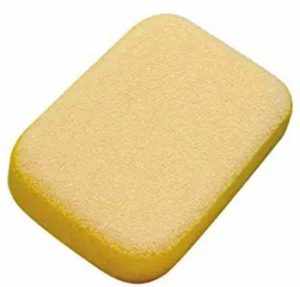
Grout Sponge
After you use grout, use a grout sponge to wipe away any excess grout, and tidy the surface area of the tiles. If you avoid this step, the grout will form an unsightly haze as it dries. While it can be appealing to use a standard sponge for this task, the squared edges of a routine sponge can pull grout from the joints between your tiles. Rather, stick to unique grout sponges, which include rounded edges to assist keep grout where you want it.
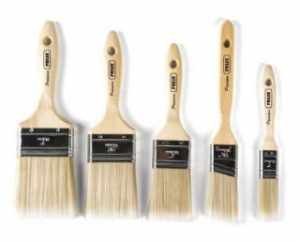
Paintbrush
Once your grout has a possibility to dry, use a coat of sealer to protect the grout from spots. Use a small paintbrush to use the sealant according to the maker’s recommendations, then keep the tile dry and safeguarded up until the sealant has an opportunity to dry totally.